Standard DIY System for Metal Posts
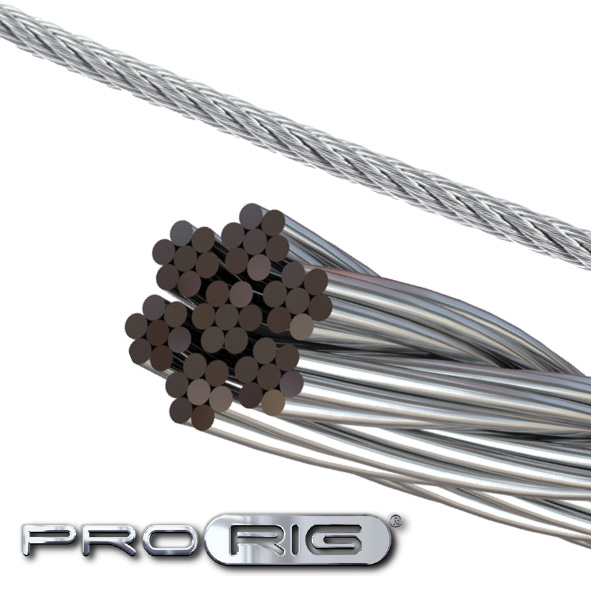
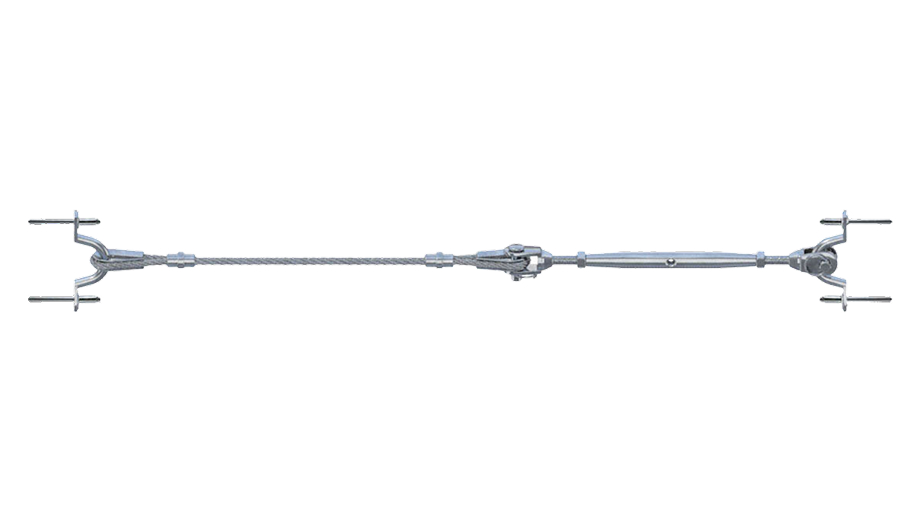
Our Standard DIY System suits timber and metal posts and is a true Do-It-Yourself kit supplied with stainless steel fittings and wire rope only for installation on site. Although this system has a much more involved and time consuming installation process, it is ideal for those on a strict budget. The Standard DIY System comes with simple step-by-step instructions to guide you through the installation process.
To order, simply calculate the amount of wire you need by measuring the distance between the starting and finishing points of your posts and then provide this information, along with the qualtity of fittings, to Miami Stainless either through our online Balustrade Builder or contact us directly via phone, fax or email. Your Standard DIY System will arrive at your door in kit form ready for a quick and simple installation.
Please Note: This method is suitable for timber and metal posts.